I was so excited to begin! You have no idea. I waited so long to get this started. The weather is perfect and the rooftop offers the perfect location for an ambitious project such as this. Great sun, good breeze and amazing views! Can't ask for a better workroom!
Now let me just pre-empt this post by informing you this is my first refinishing job. I am pretty proud of the results but I know there are some "experts" out there that may pick apart my methods. Hey, you do you and I'll do me and we can all live happy, happy. I give you this to think about before you commence to giving me loads of criticism...ahem, advice.

I swear I ran off to Lowe's and Home Depot more times in the last two weeks than I've ever gone in my lifetime. And guess what? I actually love it there! That's right, ladies, it's not just a guy's store. However, it is the kind of store you can drag your husband to and he'll actually be happy as a clam to be there!
Before I take you on a journey through pictures, let me share with you the lovely before photo.

If you are interested in the back story of how I came across this chair for FREE, be sure to visit my previous post HERE.
Applying paint stripper was the easy part. Wearing gloves and a mask, I liberally brushed Citristrip all over the surface of the chair, being sure to reach into every nook and cranny so I could get a good clean finish.
Citristrip states to leave it on at least an hour and up to 24 hours but it was ready for scraping within 20-30 minutes. I couldn't resist. It is back breaking work to scrape the chair. Not because the paint is resistant. On the contrary, the paint was coming off like butter. But the bending over and under and sideways was killing my back. This is where I really wished I had a workable to set the chair on so I could have stood upright. OUCH!


As you can see from the photos above, it took 3 coats of Citristrip to finally reveal the beautiful wood underneath. My back was crying out but the chair was singing, "I can breathe!!" I even imagined it telling me thank you and we bonded and became one. At this point I vowed to the chair that I would never cover it with paint and that I would endure backaches just to show it how much I loved and admired her.
Seriously, she was covered in rocker stickers on top of deep red paint on top of gold paint on top of black paint on top of varnish! BLECH! Suddenly I noticed her arms and decided they were quite sexy. (Yes, during this meditative process she took on a personality and became a girl.)
Maybe I was breathing in too many chemicals! Either way, I discovered that the chair had a number on her backside and that little discovery was extremely exciting to me. Like, I actually became giddy! Or maybe that was from breathing in the chemicals too! At this point who knows. All I cared about was getting it done.
All in all the stripping alone took a total of 6 hours. Yep, there went my Saturday. I stopped and gave my back a break for the night and came back to sand her down a couple of days later.
STOP: this was going on while I was stripping the varnish:

{Oooo she's nakey! But what a difference. I used four different grits of sandpaper. The higher the grit number the finer the sand, yielding a smoother finish. I started with a course grit 80 and ended with a baby soft grit 400. I sanded this by hand but I learned a tough lesson. After experiencing multiple hand cramps, I decided a sander will be entering my life sooner than soon. But she was finally stripped bare! Ooo la la, hello naked lady! I left her in all her bare nakedness to dance in the light of the moon while I ate beef stew, had a glass of Pinot Noir and immersed myself in episodes of Scandal.}

Here comes the fun part! Once again I left her overnight but I wasn't chilling this time. I returned to my apartment where I tore a pad of 0000 steel wool into little pieces and placed in a pasta sauce jar that I had saved for such an occasion as this. I then covered the steel wool with white vinegar and closed it up with the lid. What is this, you ask? It's how I will give my beauty a wash that gives the wood an aged look. You see, the steel wool has a chemical reaction to the vinegar and when I brush it onto my beauty, the steel wool/vinegar mixture will oxidize her, making her look like aged and will give her a gorgeous color.
The next day, she received her stinky but wonderfully effective vinegar wash and sat to dry for a few more hours. Check out the left side area where I applied the wash! It's already working wonders.

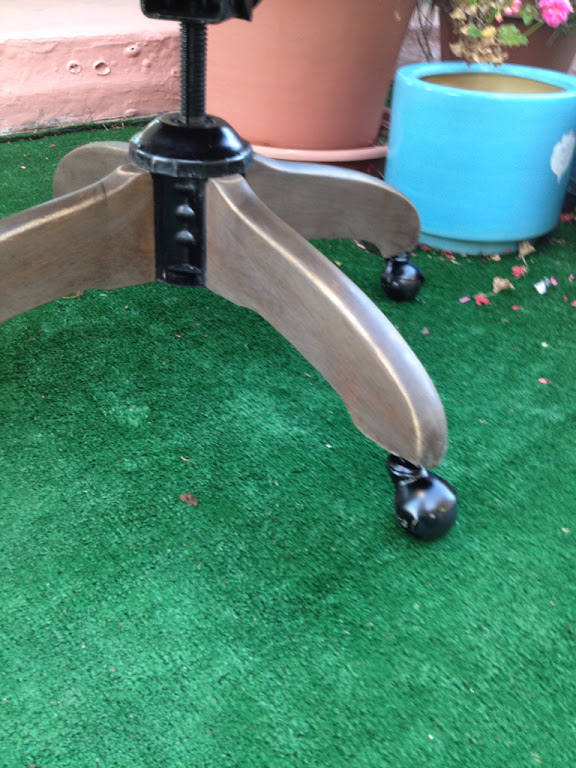
She spent one final night up on the roof before I painted her hardware black, added casters and stenciled the word "SIT". I am not sure about the SIT but I needed something to cover the wood filler the previous owner used. I might change it. Still not sure. But just look at her! Isn't she a beauty?


So what do you think? I'd love to hear from you!
xoxo, tami
Wow what a difference from the before picture to now. You did a great job! I love the story behind the process too. What's next on my renovated life?
ReplyDeleteThanks Sherries! It was such a fun process and I learned so much about myself while I worked on it. Namely, how much I enjoy working with my hands. I have a challenging project coming up to create knock off curtains for my living room/workspace. It's quite ambitious, but I'll be sure to share my journey and the results when they're completed. In the interim, you can expect posts on our family Summer Bucket List and a Rooftop Dinner Party I'm hosting soon, along with a few other finds I'd like to share.
Delete